Using the Bouquet Wipe in Adobe Premiere Pro

1. Start Premiere, and import your footage, and the BouquetWipe Quicktime PNG file from the Wedding Essentials Volume 1

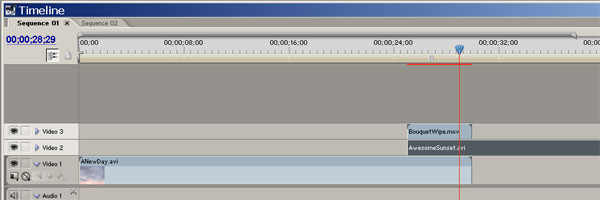
2. Position your footage like timeline below. Put the Wipe clip directly above where the footage clips overlap. We’ll make slight adjustments later.

NOTE: Copy all Digital Hotcakes animations from CD or DVD to your video hard drive before importing them.

PPWipeTL01

Because the Bouquet Wipe does not fill up the screen at any point during the transition, we need a little help making it look convincing. You’ll need to use the Wipe Transition in Adobe Premiere with the Bouquet Wipe.

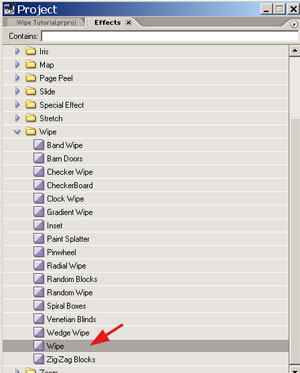
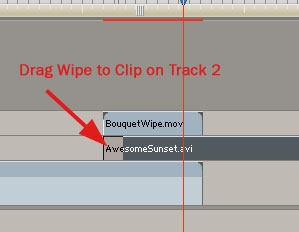
3. Under the Effects Tab under Video Transitions, find the Wipe transition and drag it to the left edge of the footage in track 2.

PPWipeEffects
PPWipeTL02

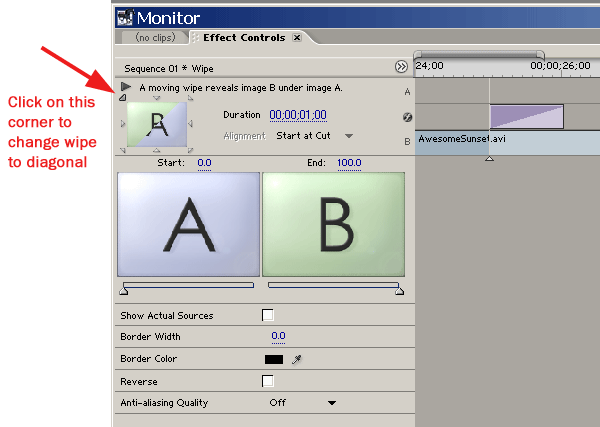
4. Click on the wipe transition on track 2 to bring up the Effects Controls. To change it to a diagonal wipe to match the Bouquet, click on the upper left hand corner as shown below.

PPWipeTL03

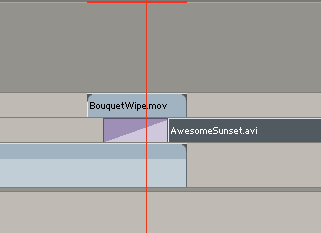
5. Here’s where the slight adjustments need to be made to the length of the diagonal wipe and the positioning of the other clips. Change to the duration of the diagonal wipe to 3 seconds. You can do this by typing it in the Effects Control panel, or you can drag the end of the transition in the timeline. Then move the position of Track 2 to the right in the timeline. Here’s our the timeline should look:

PPWipeTL04

Using the BalloonWipe

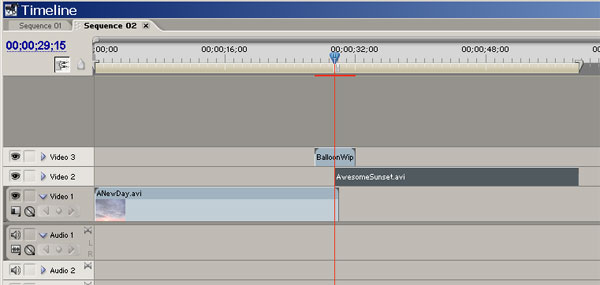
1. Since this wipe does have a place where it fills up the entire screen, we will not need to use an additional transition. Position your clips in the timeline like shown below:

PPWipeTL

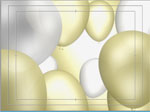
2. The key to getting the clips lined up is to find the spot in the BalloonWipe that fills up the entire screen. Like shown left. Then position the clip in track 2 to start there. That’s all there is to it.

Tutorial Index > Adobe Premiere Pro Tutorials

Copyright © 2005 TriLab Productions. All rights reserved.

PPWipeBalloonsSm02